
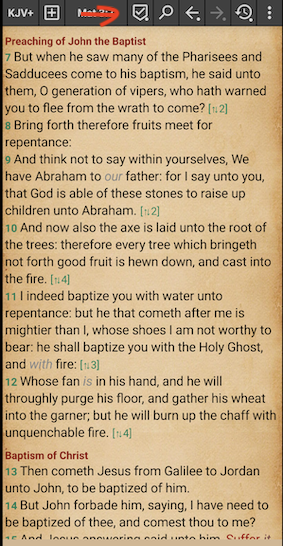
So you’ve started MyBible for the first time. If you patiently gave the “Welcome” screen (that appears first) a few seconds to download default modules in the language of your device (and at the same time to give you some initial infirmation), – upon its dismissing you will see a text of a Bible module in the language of your device; for English that will be KJV+ (King James, with embedded Strong’s numbers).
There is the Bible text area and the header buttons. Practually all aspects of MyBible appearance and behavior are adjustable to your needs and liking; to get you started, the following describes the default behavior in the default appearance.
Fow now, please ignore all the header buttons except the one in the middle – the Bible position button that shows the Bible reference for the topmost shown verse – the current verse.
MyBible shows to you the text of a current Bible book as a scroll. There are no text pages in MyBible; chapters follow one another. Such an approach to presenting the Bible text is quire intentional – it allows you to put any place of a book into the center of your screen and study it in its immediate context.
Contents
- A tap on the right half of the screen, as well as a press of the device’s volume down button, scrolls a screen down.
- Similarly, the left half of the screen and the volume up button scroll a screen up.
- A horizontal swipe right-to-left navigates to the next chapter.
- Similarly, a horizontal swipe left-to-right navigates to the previous chapter.
- A horizontal swipe right-to-left with two fingers navigates to the next book. Note that this is the second way to navigate to the next book: you can get there with a single swipe with two fingers or with several swipes with one finger – because the first chapter of the next book follows the last chapter of a previous book.
- Similarly, a horizontal swipe left-to-right with two fingers navigates to the previous book.
The long-tap on the Bible text is for selecting of verses and then performing different actions on the selection.
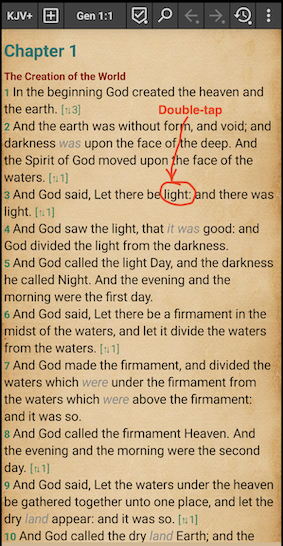
Links in the Bible text
You can activate links in the Bible text by a double-tap on them.
There are several types of explicit links – colored in the hyperlink color. The ones shown by default deal with cross-references that connect related Bible places:
- Cross reference links after verses – the ⇅ character in square brackets, followed by the number of pointed cross references – they lead to vivid cross references which are typically shown in printed Bibles in between the two columns of the text. Cross references shown in the Bible text by defailt come from the RST-x cross references module.
- Verse numbers – they lead to the “Cross references” window, which adds dozens of more subtle cross references to the vivid cross references.
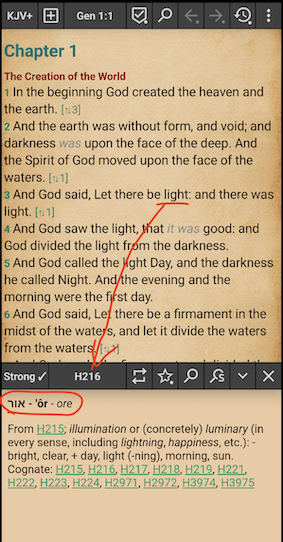
Bible text words are implicit links, activation of which looks up the tapped word in dictionaries and lexicons. MyBible automatically downloads a Strong’s lexicon module, so a double-tap on a word in KJV+ causes a dictionary window to open and to shown you a lexicon article on a Hebrew or Koine word that was translated by the word you have double-tapped in the translation. This only works in literal translations having embedded Strong’s numbers, i.e. for Bible modules, abbreviations of which end with “+”.
Selection of a Bible position
Selection of a Bible position allows to jump to a desired place. Users have different preferenced on what is an efficent way of selecting a Bible position; for that, MyBible has several variants of the Bible position selection user interface.
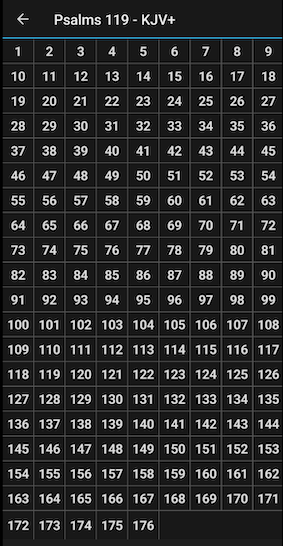
The first way of selection, the default one, is presenting all books, all book chapters, all chapter verses on the screen, with no scrolling required even for the biggest numbers of books and chapters.
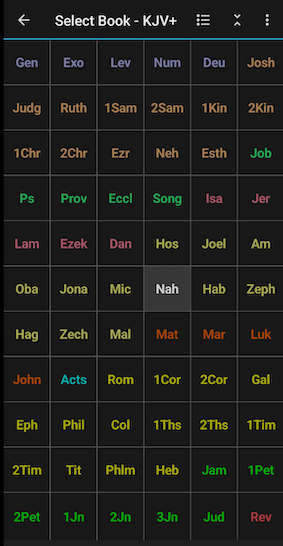
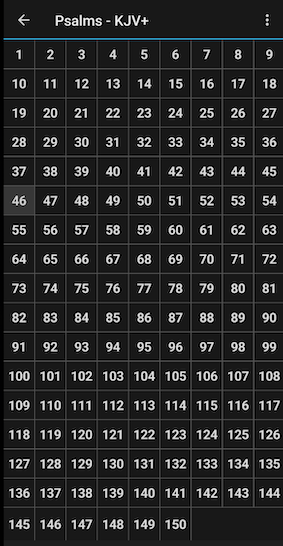
The book and chapter selection screens support the long tap on buttons – proceeding to the begining of a book or a chapter.
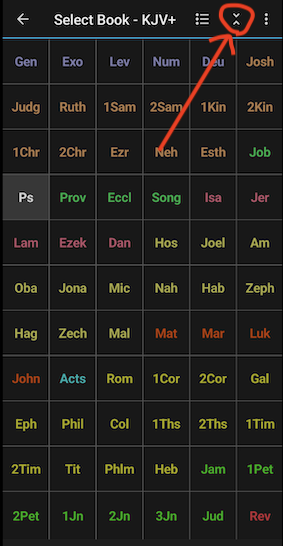
The button in the book selection window header that is shown in the screenshot below switches to the second way of selection, which combines the book selection area and the numeric position entry area.
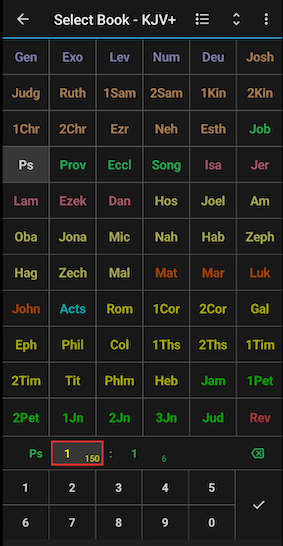
Note that the chapter number and verse number entry fields indicate in their lower right corner the number of chapters in the currently selected book and the number of verses in the currently indicated chapter.
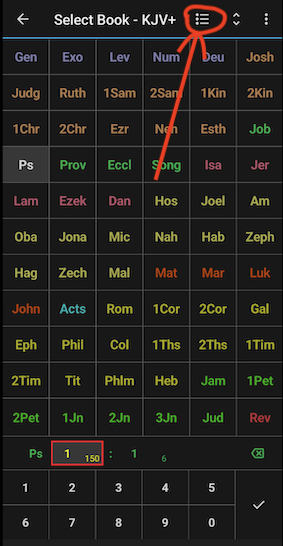
You can have the book selection as a list rather than a grid of buttons – in both the first and the second way of selection.
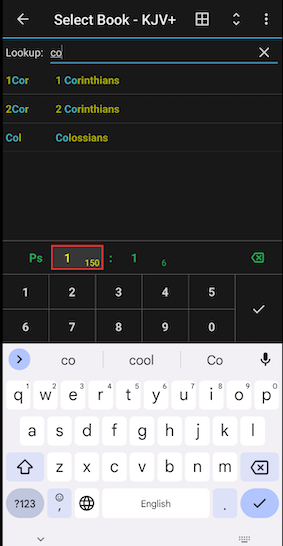
Note the lookup field there. You could consider the list of books as the third way of selection.
Finally, some users prefer to just type in a desired Bible position. Do a horizontal fling on a position selection button to bring up the fourth way of selection – the position entry dialog.
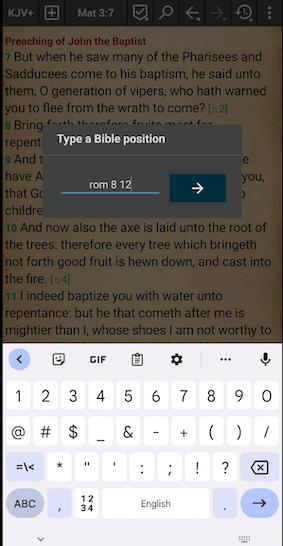
Just type there a book abbreviation, optionally followed by a space and a chapter number, optionally followed by a verse number. The “Go” (arrow right) button in the dialog is enabled when MyBible recognises the entered position – a known abbreviation, an existing chapter number, an existing verse number in a specified chapter.
Buttons
So you now know how to scroll, how to navigate and have some idea about the links in the Bible text. Now, what are the buttons at the top?
There are a several fixed ones and there is a whole lot of configurable ones.
The fixed buttons are, left to right:
- Bible module button
- Window control button
- Bible position indicator & button – you are already familiar with this one from the above info
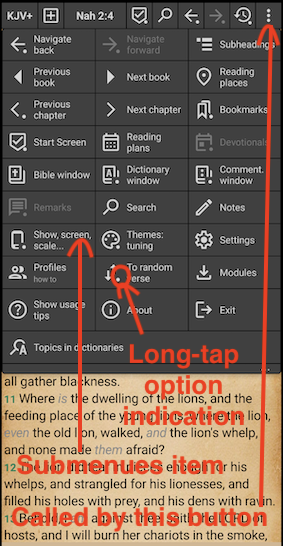
- Menu button at the very right, which calls the main menu by a simple tap and sub-menus by a long tap
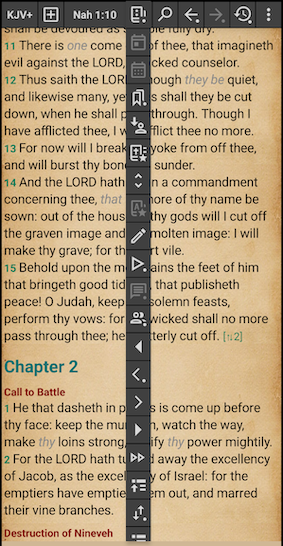
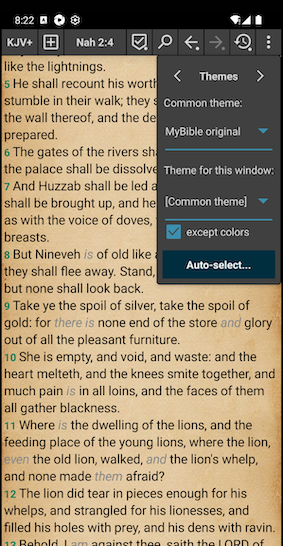
Configurable buttons are between the Bible position button and the menu button. Those buttons, which can easily be perceived at first as unnecessary “bells and whistles”, provide access to the main spectrum of the MyBible functionality. Here is how it looks when you do a vertical fling on one of them to acces the rest of them that did not fit the window height.
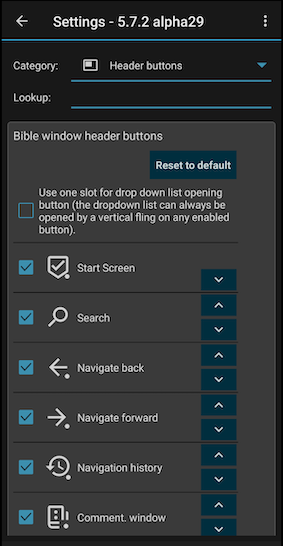
If you study the purpose of the configurable buttons and arrange them to your everyday usage convenience, you will see that there is almost no need the main menu. In order to study the buttons, go to the main menu, the “Settings” item, and select the “Header buttons” item. The list allows you to see button descriptions, to hide the uneeded ones and to re-arrange them, so that the most important ones for you are at the top of the list (and thus are shown in the header) and the the rest are arranged for your convenience.
Here is how the MyBible main menu looks like by default:
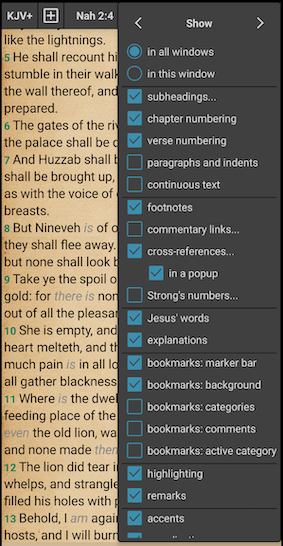
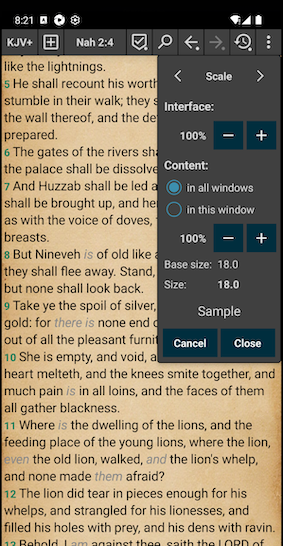
And here are the sub-menus:

Selection of a Bible module
In addition to defaut modules that MyBible automatically downloads during the first start, you can download additional Bible modules (they are called “modules”, not “translations”, to be fair to texts of the original Bible manuscripts in Hebrew and Koine).
The leftmost button, the Bible module button, allows to select one of downloaded modules to be shown in the Bible window.
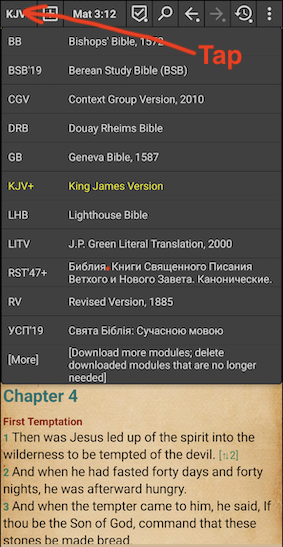
If you have more than a few Bible modules downloaded, perhaps some for a frequent use and others just for an occasional checking, having a long list of Bible modules to choose from takes some extra moments to find and tap a needed one. MyBible allows to limit the immediately shown modules using a long-tap on the Bible module button.
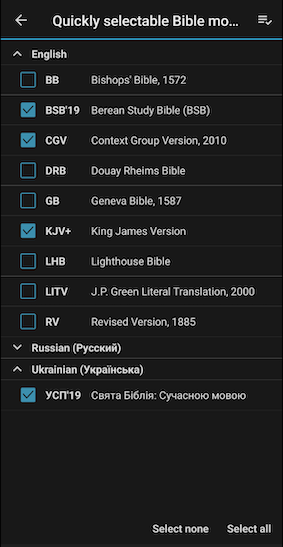
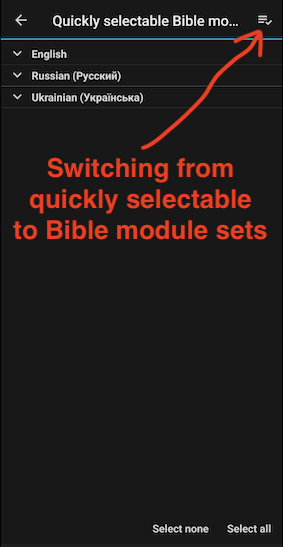
MyBible allows to specify quickly selectable Bible modules – as a list of all the downloaded Bible modules, grouped by language, with check marks on them:
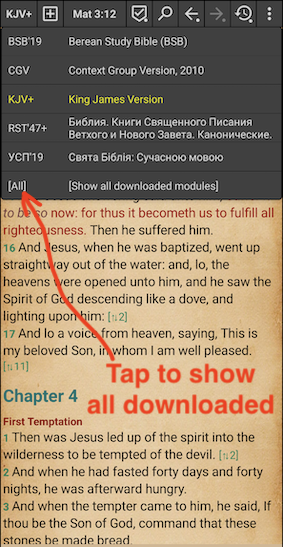
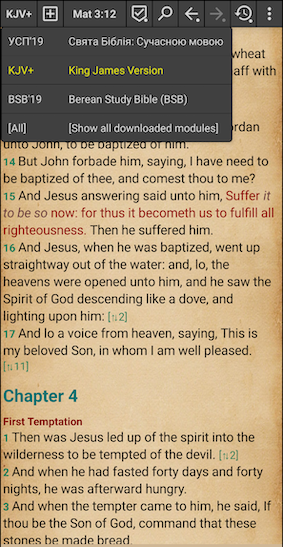
As the result, the list of modules will be down to your few frequently used Bible modules, with the rest of the modules just one tap away on the “[All]” item:
All the above shows modules in the alphabetical order of their abbreviations.
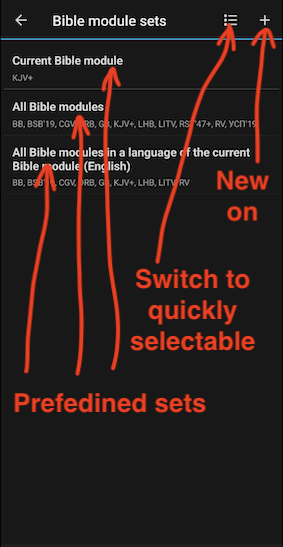
MyBible also supports named Bible module sets, in which you can select and order Bible modules to your liking. Here is how to switch from quickly selectable modules to module sets:
Here is how adding of a new Bible module set looks like:
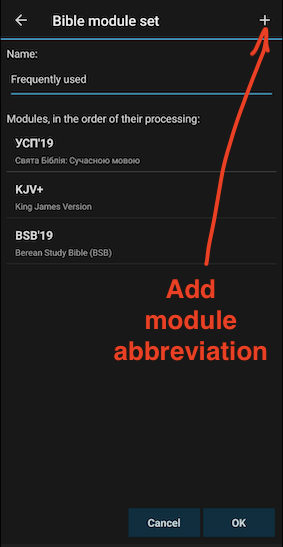
Select an abbreviation in the list to move it up or down in the list or to delete it.
After adding a Bible module set, tap it in the list of module sets to activate it. As the result, the list of Bible modules to select from is per a selected module set, and notice the sorting that you can adjust as desired in this case. And you still have the “[All]” item in the list, which shows all the downloaded Bible modules in the alphabetical order of their abbreviations.
Lacking something you are used to?
As it is explained at the top of this article, there are no, and not going to be, text pages to flip.
If you lack something else, please look through the main functionality usage tips (in fact, all the usage tips are recomended to study in order to wrap your head aroung all the possibilities you have in MyBible).
Too much of everyting?
Read here then.